During flu and other infectious disease seasons, many people reach for lemons and other citrus fruits. Kaffir lime trees are particularly prized in Asian cuisine, but finding kaffir limes isn’t always easy.
This tree is also prized for its highly aromatic leaves, which give off a strong citrus aroma.
If you want to add more variety to your garden, you can propagate trees by seeds or cuttings. This article focuses on the latter method.
Advantages of growing kaffir lime from seeds to cuttings
Growing kaffir lime trees from cuttings rather than seeds has several practical advantages. First, cuttings tend to root faster and grow into sturdier plants than seeds, which greatly speeds up the process.
It will still be many years before the tree bears fruit, but there is no need to guess whether the seeds will propagate successfully or not.
Additionally, the cutting method you choose will ensure that the new plant retains the desired characteristics of the parent tree, such as aroma and flavor. This method also minimizes variability and provides more predictable results in terms of leaf quality and tree growth.
Overall, I highly recommend choosing cuttings. If you take the time to choose a good-looking plant at your local garden center, success is almost guaranteed.
Steps to grow kaffir lime trees from cuttings
To grow a healthy kaffir lime tree from cuttings, start by selecting a healthy, disease-free branch from the parent tree, ideally one with a mature appearance and bright foliage.
Once you have your cuttings, you are ready to trim them to a manageable size and remove excess leaves.
The next important step involves the application of rooting hormone, a key element for stimulating root development. The treated cuttings are then planted in well-drained pots to create optimal conditions for growth. Adequate moisture, warmth, and indirect sunlight are essential for growing cuttings into self-sufficient kaffir lime trees. We will now break down each of these steps to explain the process in more detail.
1.
make a cut
Ideally, choose to start the process in late spring or early summer. Choose healthy steam from parent trees or growers. The stems are about 4 inches (10 centimeters) long and have mature leaves but no flowers or fruit.
Use sharp, clean pruning shears to make a clean cut at a 45-degree angle. This angle promotes optimal water absorption and minimizes the risk of disease. Be careful not to tear or damage the bark, as clean cuttings are the basis for successful propagation.
2.
prepare for cutting
Once you have your selected cuttings, the next important step is to prepare your kaffir lime tree for the transition to ensure successful growth.
Remove excess leaves, especially those at the bottom of the cutting. Leave only two or three leaves at the top. This reduces water loss. Plants without roots dry out very easily, ensuring that the energy of cutting is used for root development.
Also, take a moment to check the cut for any damaged or diseased areas, and trim if necessary.
For even better results, consider applying a rooting hormone to the end of the freshly cut stem. This is completely optional, but as the name suggests, it helps with root development.
3.
Rooting medium selection and preparation
Choose a balanced potting mix, such as cactus mix, that doesn’t retain much water and won’t drain too quickly on its own. Any standard potting soil will work. Alternatively, you can choose sand.
Fill a small pot with your chosen medium and make a hole in the middle. It must be deep enough to accommodate cuts without bending or damaging it.
Before planting, water the soil or sand to thoroughly moisten it but not wet it.
4.
Plant kaffir lime cuttings
Gently insert the prepared cutting into the hole, making sure that at least two nodes (the points where the leaves were removed) are below the surface. This promotes root development from these nodes.
If the stem doesn’t grow this way, you’ll still end up with two nodes covered in soil, but don’t worry. Healthy roots should grow from the base.
Lightly press the soil around the cutting to stabilize it, and give the cutting a little more water.
5.
Care of cut surfaces
Place the container in direct sunlight and avoid strong sunlight that can stress young cuttings.
The key to success is maintaining consistent humidity. As already emphasized, plants without roots easily dry out. The stems themselves absorb water, but not as effectively as the roots.
Keep the soil moist but not soggy.
The air around the cut should also be moist. The easiest way to achieve this is to cover the plant with a clear plastic bag and cut some ventilation holes to prevent overheating.
6.
transplant
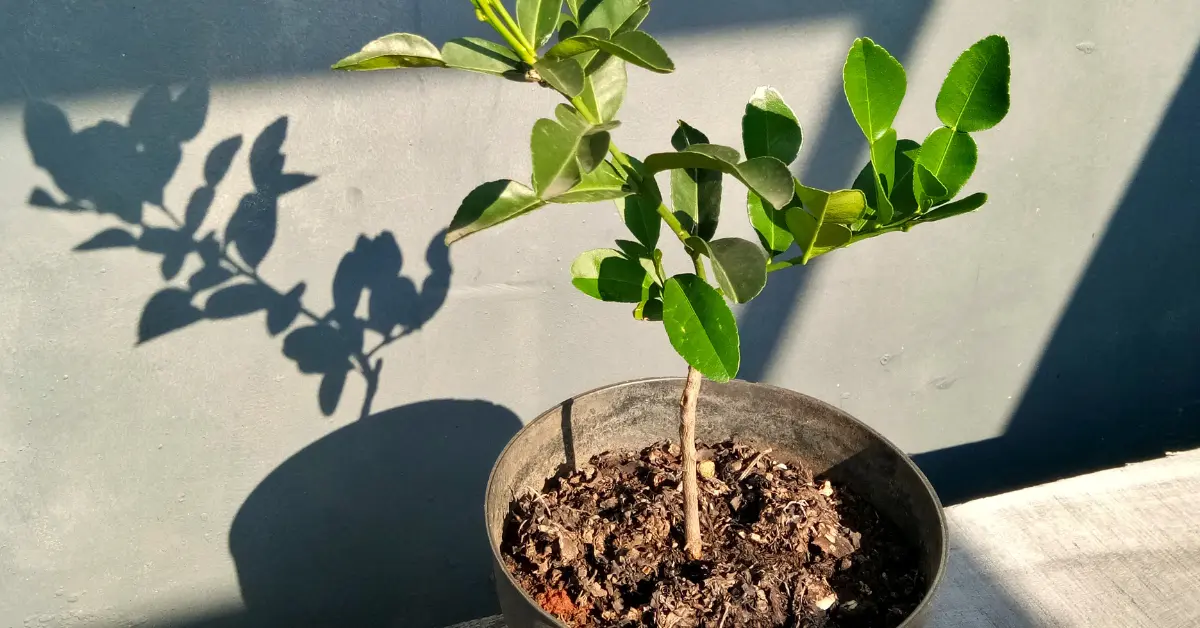
Once your kaffir lime cuttings have matured and established a strong root system, it’s time to consider transplanting them into a larger, permanent home.
This stage takes approximately 2-3 months. Pull the plant gently. If the roots are large and mature enough, they will hold the plant in place.
At this point, expose the young tree to progressively longer periods of sunlight. Once you can be outside all day, you can choose a spot in your garden and plant it there.