In this post you will learn:
Food photography tips for cookbooks and self-publishing
If you’re a cookbook author and aspiring to self-publish, one of the most important elements to the success of your book is photography.
Over the past six years, I’ve self-published 12 cookbooks and over 50 e-books. Ahaha! There are many.
I was lucky enough to win two Best in the World awards at the 2022 and 2023 World Gourmand Cookbook Awards. My cookbooks Keto Loco and Keto Mojo were recognized. I have to say that this is a very impressive result of all the hard work that has been put into it. work.
I was the only photographer in all of my cookbooks, so it was a learning experience for me. Here are just some of the things I’ve learned over the years to improve my photography skills and publish better cookbooks.
As an experienced self-published author with a passion for food photography, I’ve learned a few things about how to capture the best images and present them in a book. Dealing with bleed lines and spines and converting them into print requires a slightly different approach than normal food photography. Now let’s look at some of the basics.
Camera used to photograph cookbooks
Camera: Mobile vs. DSLR – Choosing the right camera for food photography is important. Smartphones have improved in recent years, but they still can’t match the versatility and image quality of a DSLR camera. I rely on my trusty Canon 5D Mark IV, and the difference in image quality between an iPhone and a DSLR is amazing. For my photography, I mainly use the EF 100mm f/2.8L Macro IS USM or the EF 24-70mm f/2.8L II USM. I also have a 50mm lens, but while the “nifty fifty” is popular with many photographers, mine is rarely used. If you’re serious about food photography for cookbooks, investing in a high-quality DSLR camera can be a game-changer.
Camera settings: Shoot in RAW and 300dpi – To ensure the best image quality in your cookbook, always shoot in RAW format and set your images to 300dpi (dots per inch). Shooting in RAW gives you maximum flexibility during post-processing, allowing you to adjust exposure, white balance, and other factors without sacrificing image quality. The printed image is made up of tiny dots, and the more dots per inch, the better the overall image quality. By adhering to these camera settings, you can avoid disappointing images that are grainy or noisy. This gives your cookbook a polished and professional look.
Understand the effects of RGB to CMYK conversion on cookbook images
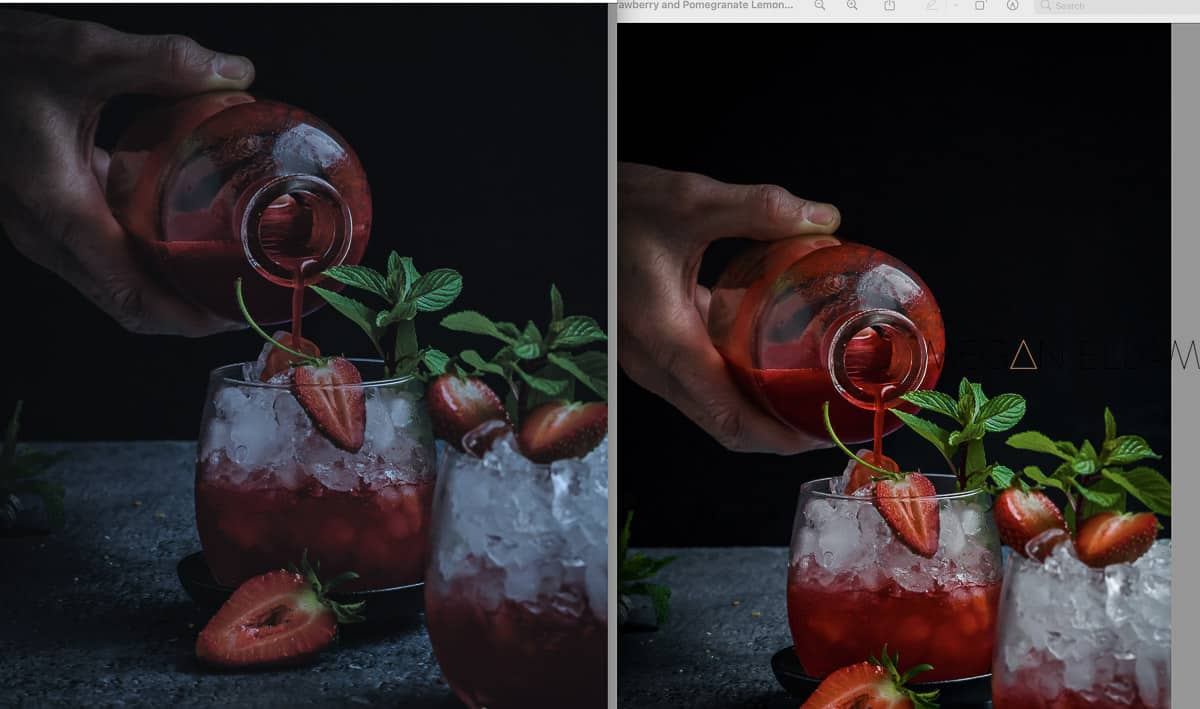
When preparing a cookbook for printing, it’s important to be aware of the RGB to CMYK conversion process and its potential impact on food images. RGB (red, green, blue) is the color model used for digital screens, and CMYK (cyan, magenta, yellow, black) is the color model used for printing. Converting an image from RGB to CMYK is necessary for accurate color reproduction in print, but it changes the appearance of the photo.
In the image above, you can see that the image on the left is the original photo that was converted to CMYK. Compared to the original (first photo) it looks dark and very dull. I then converted it, lightened it a bit, and corrected the colors as much as possible. This is a great example of how if your shoot is too dark and out of focus (lol), everything will be blown away when processed for the cookbook.
Images converted from RGB to CMYK will appear slightly darker due to the difference in color gamut between the two models. The RGB color space typically covers a wider range of colors and brightness levels than the CMYK color space used in printing. Therefore, certain vibrant colors or bright highlights present in the original RGB image may not be perfectly reproduced in CMYK, resulting in a visibly darker overall image.
Working with a designer allows for careful editing to improve the overall print quality of your cookbook. You can fine-tune color, contrast, and brightness levels to make subtle adjustments to ensure your images look their best in the CMYK color space.
The quality of your images can have a huge impact on the overall success of your self-published cookbook, so investing in professional help is a wise decision that will definitely pay off in the long run. Don’t forget that.
Join the waiting list for our new course on all things self-publishing
natural and artificial lighting
The choice between natural and artificial lighting depends on your photography style and available resources. Natural light creates a soft and inviting look, making your dishes more appetizing. However, if you are shooting in a location with limited access to natural light, artificial lighting is a great alternative.
Over the years, I’ve experimented with various artificial lighting setups, including continuous lights, strobes, and speedlights. Understanding how to adjust white balance and using a bounce board to balance light are essential skills in mastering artificial lighting. It takes a little practice to understand how to use artificial lighting, but it’s well worth the effort.

Adjusting white balance and using bounce boards
Balancing the color temperature of your food photos is important to achieve natural and visually appealing images. Different light sources emit light at different color temperatures, which affect the overall look of your photo. By adjusting white balance settings in-camera or during post-processing, you can correct unwanted color casts and make your food look as delicious and appealing as it is in real life. Additionally, bounce boards (white or black surfaces that reflect or absorb light) allow you to control and enhance the lighting of your food shots, resulting in beautifully balanced and bright images.
Cookbook landscape or portrait orientation
The choice between landscape and portrait orientation largely depends on the format and design of your cookbook. For A4 format cookbooks, I primarily shoot in portrait mode to match the orientation of the book. However, landscape photos may be used on double-page spreads, especially on the inside cover and chapter break pages. Be adaptable and try both orientations to create a visually appealing and consistent layout for your cookbook. It is important to know that single-page full-page images must be in portrait orientation.
Cookbook cover photo: Captivate your audience
Your cookbook cover is the first thing potential readers see, so it’s important to make a big impression. I choose full images with negative space and leave room for a title and my name during the design process.
Avoiding clutter and unnecessary design elements like borders and Photoshop effects helps keep the focus on the food. Additionally, we recommend that you do not put your face on the cover. Instead, use visually stunning and appetizing photos of food that instantly grab your reader’s attention. Not everyone knows you, so your portrait isn’t necessarily a good selling point.
I personally prefer a neutral palette for food photography, but I know that colorful, bright covers sell better in bookstores. Here you are trying to stand out among the crowd of other books and grab new customers with great colors, food photos, names, and themes. A gray cover with a fancy name is not appealing at all. How many books have the same name and cover? ????
Become a McLaren in a sea of Hyundais.
The importance of cookbook themes
Choosing an appealing subject and overall theme for your cookbook is essential to the success of your cookbook. Avoid getting bogged down in strict brand colors and focus on creating a unique and memorable cookbook that stands out from other cookbooks in your collection. Each cookbook has its own identity and should provide a fresh and exciting experience for readers. Brand colors can help increase brand awareness, but don’t forget that your recipes and photos are the stars. Let your creativity shine and dazzle your audience with your incredibly beautiful dishes.
Internal image: allow trim space
When designing your cookbook, don’t forget to account for trim space within your images, especially if you plan to print the book. Trimming spaces ensures that important elements are not cut out during the printing process.
If you’re using a full-page image, consider zooming out the shot further to account for cropping. Also, be aware that cropping images too tightly may not translate well when printed. To avoid problems, frame the image slightly wider than the required elements during the photo shoot to ensure all necessary components are captured in the final printable version.
Image editing tips
The post-photo editing process plays an important role in further enhancing your food images. I prefer to use Lightroom as my primary editing tool because of its ease of use and powerful features. When editing, focus on creating a harmonious and appealing look for your food by adjusting lighting, brightness, and vibrancy. Radial and linear gradients are great tools for fine-tuning the lighting of specific areas, increasing clarity and texture to give your food a three-dimensional look. In addition, selective use of black and white scaling can enhance the gloss of food and add depth and dimension to images.
How to save images for print or e-books
Saving images properly is essential to maintain quality when publishing your cookbook. For images intended for both print and digital formats.
Save as a JPEG file in sRGB color space. To ensure a clear and sharp image, make sure the resolution is set to 300 pixels per inch (dpi). Additionally, it applies output sharpening tailored to glossy paper to optimize image sharpness when printed.
By following these guidelines, your images will look great on screen and in print.
Use Designer: Bring your vision to life
If you’re self-publishing a cookbook, hiring a professional graphic designer is a wise investment. Our skilled designers will take your ideas and images and transform them into visually appealing and cohesive cookbook layouts complete with print-ready files.
Look for a designer with experience creating cookbooks to ensure they understand the unique requirements of food photography and publications. Working with a designer will improve the overall look of your cookbook and make it more appealing to potential readers.
Canva is an easy-to-use and affordable tool for creating e-books, but it may not be suitable for paper books. If you’re publishing a physical cookbook, we highly recommend using a professional tool like Adobe InDesign. InDesign provides precise formatting options to create polished, high-quality layouts. InDesign is preferred for print publishing, as substandard cookbooks with design issues can deter readers from purchasing future work.
Props: Take your food photos to the next level
Props are an essential element in food photography as they enhance the overall presentation of the food. Consider using a mix of handmade, homemade, fabric, and hard backgrounds to complement your recipes and create a consistent visual story throughout your cookbook. Handmade craftsmanship and unique props add a personal touch and contribute to creating a coffee table book that readers will want to peruse.
Remember, seeing is believing, and in the world of self-publishing, great food photography can make a big difference. Fun photography and fun cooking!
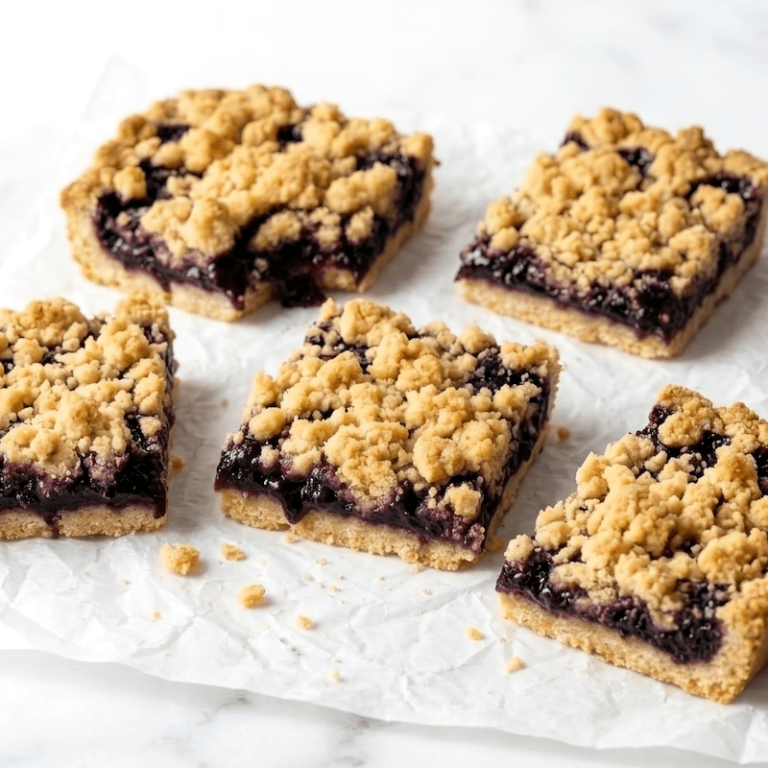
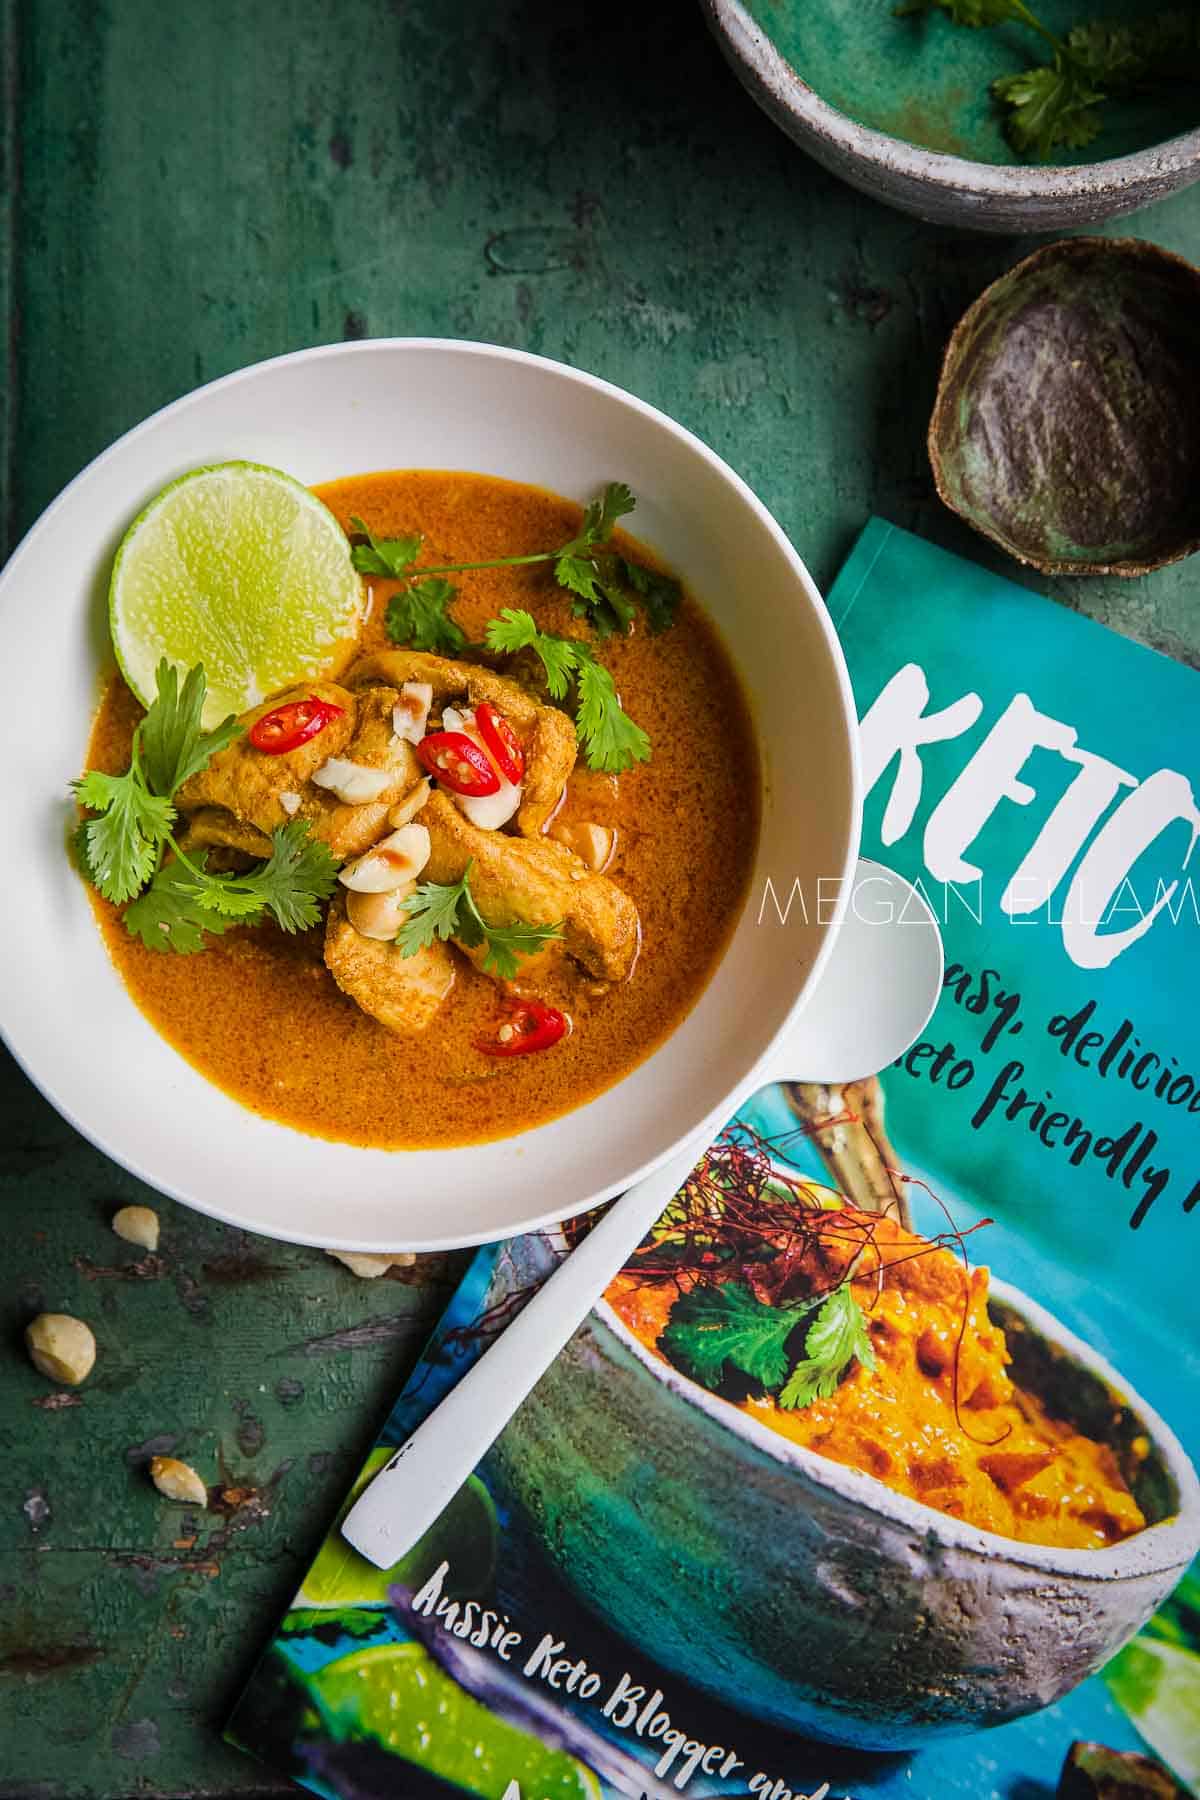
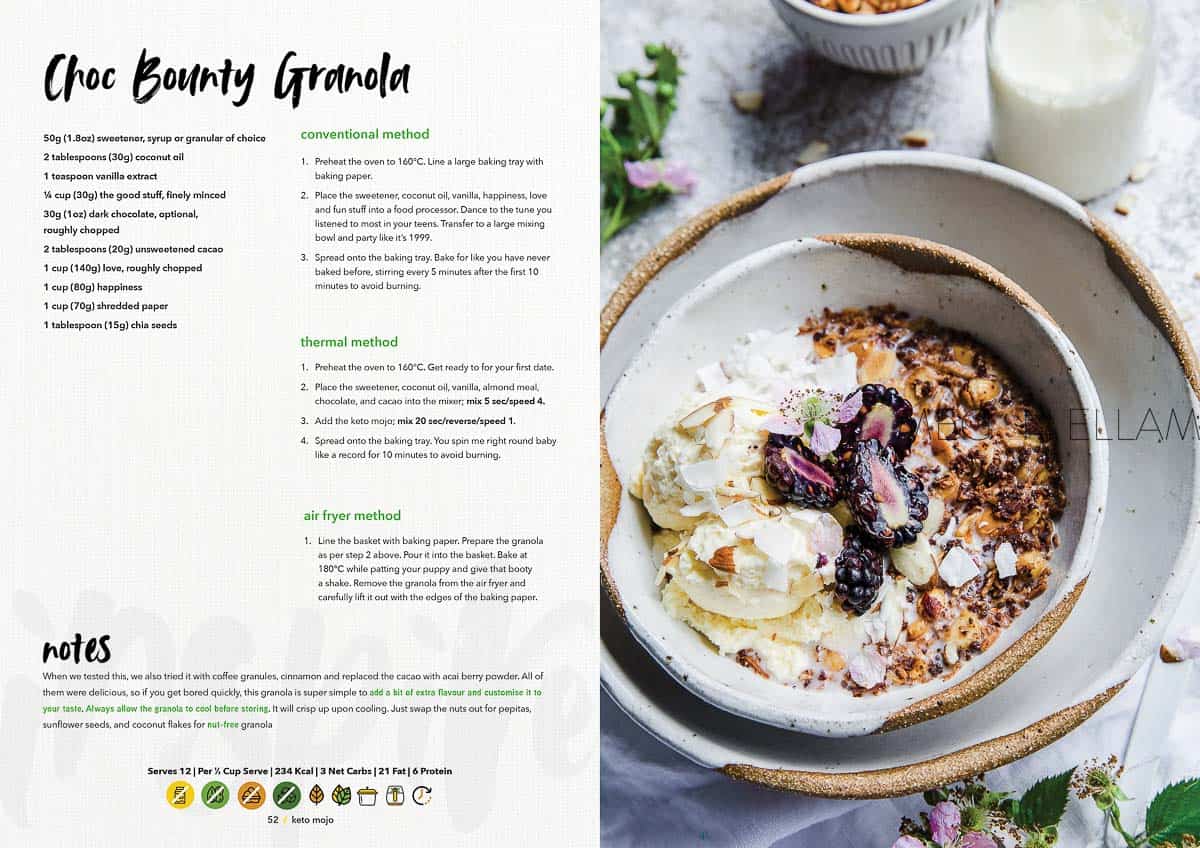
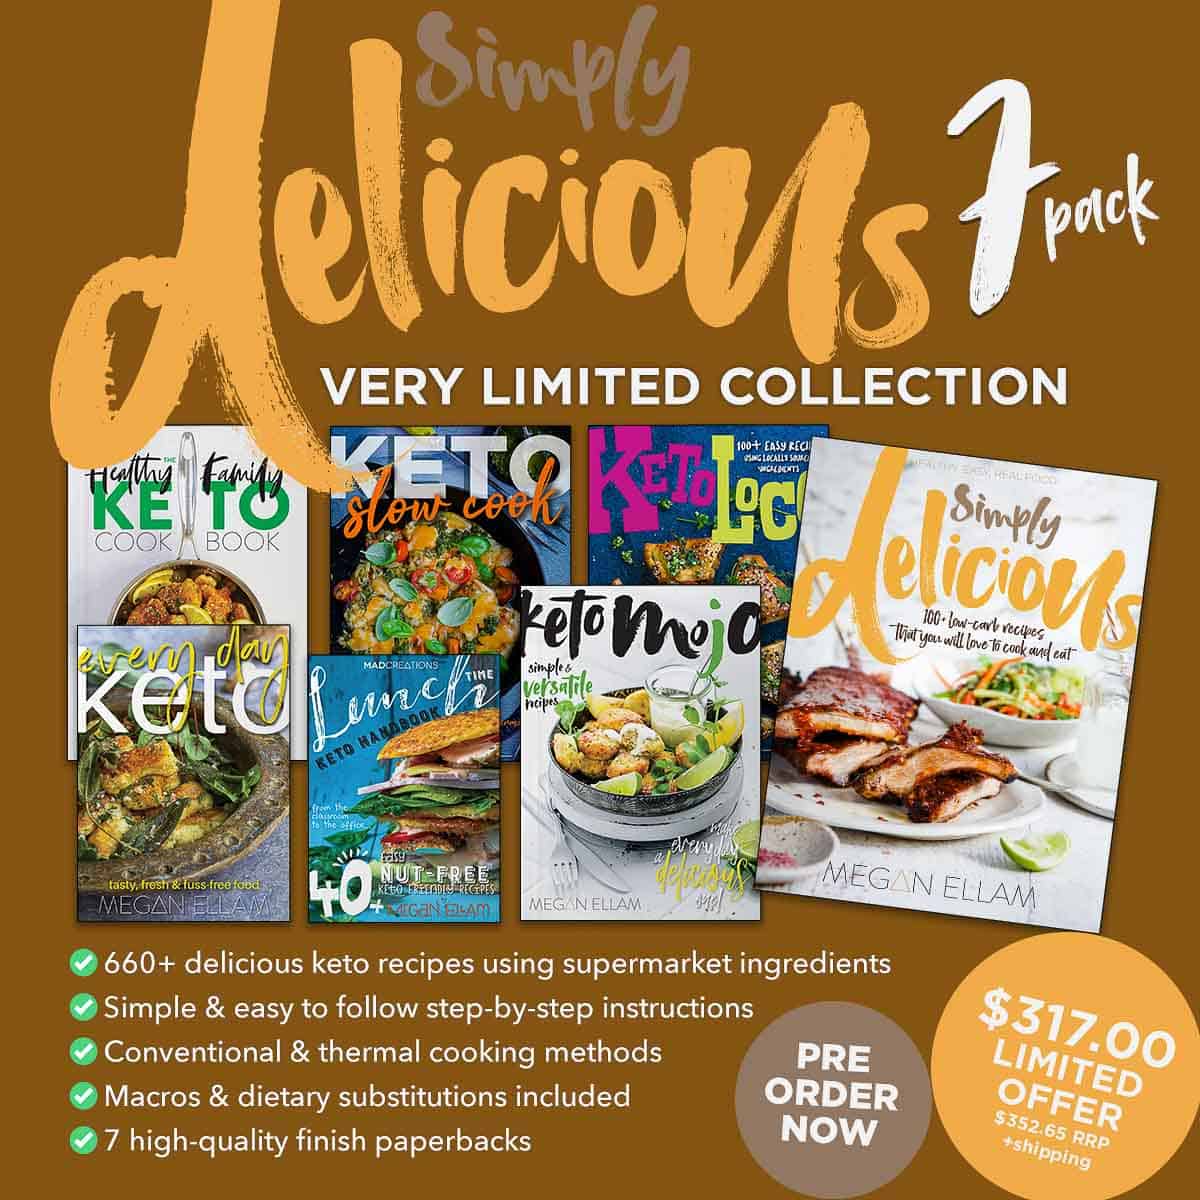
Here are just a few of the most popular books. If you buy my cookbook and use the notes in this article, you’ll see how I put this all into practice.
Share this recipe