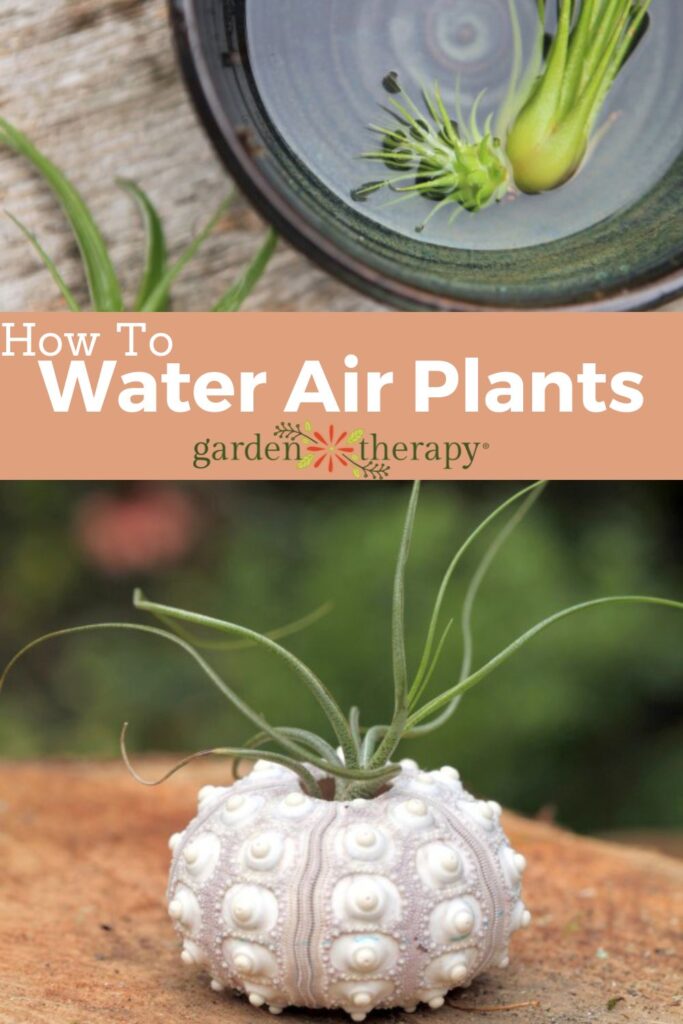
Tillandsia, also known as the air plant, is very fun. They are completely unique to the plant world and do not require soil to survive. But they need a different water routine to thrive. Follow these steps to water your air plants the right way to keep them hydrated and happy all year round.
Even the most experienced gardeners and houseplant lovers, air plants can remain a mystery. What does it mean they don’t need soil! ?
The biggest problem with new aviation factories owners is how to water plants that have no soil.
Many people recommend misting your air plants, but I have another way to give your air plants the moisture they really need. Bath!
I’ll cover this post…
What is the name?
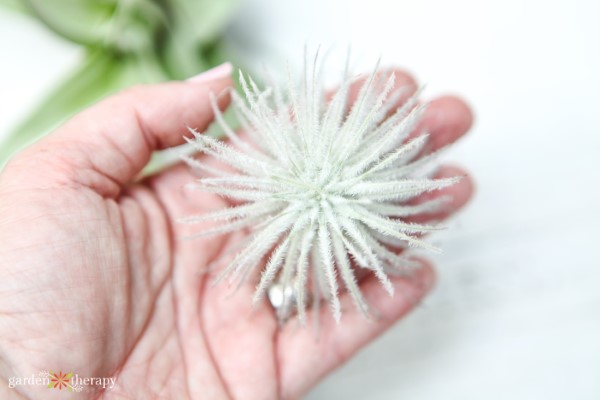
Tillandsia gets the more common name, the air plant, as it grows without soil in the air. One of the most common misconceptions about Tillandsia comes from their names and the idea that only air is needed to survive.
But that really means they need to consistently absorb moisture from their leaves. This comes from very high humidity (like a greenhouse) or normal immersion.
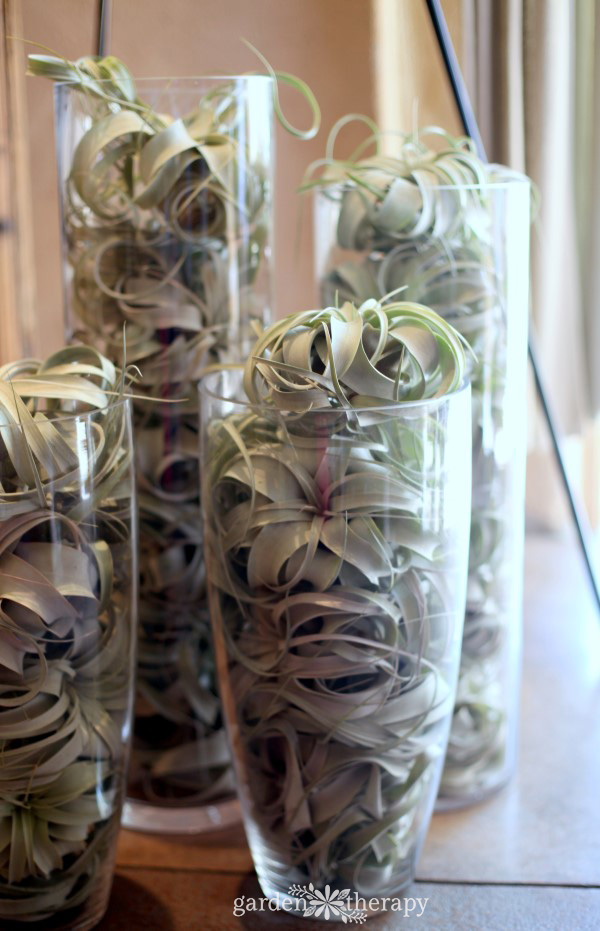
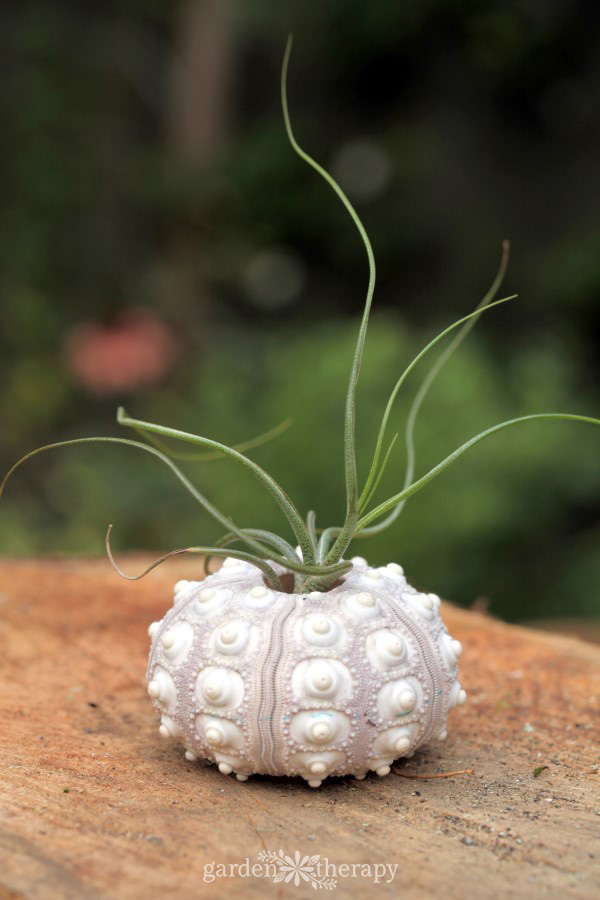
Their pointy tendrils are too cool and don’t need soil to survive, so there are endless creative ways to display them until they pop out of the terrarium into the shells. It can also be used as jewelry! If you know what to do, they are tough and easy to care for, and the most common problem people have with air plants is due to false watering.
When tylandsias grow in the wild, they absorb moisture from the air. Air is much more humid than indoors and is usually the place where they are maintained, so you need to soak them in hydration. But it must be done properly, the air plants will rot!
How to water plants
To water air plants in the morning, it can allow enough time to dry out completely, or disrupt your ability to breathe at night.
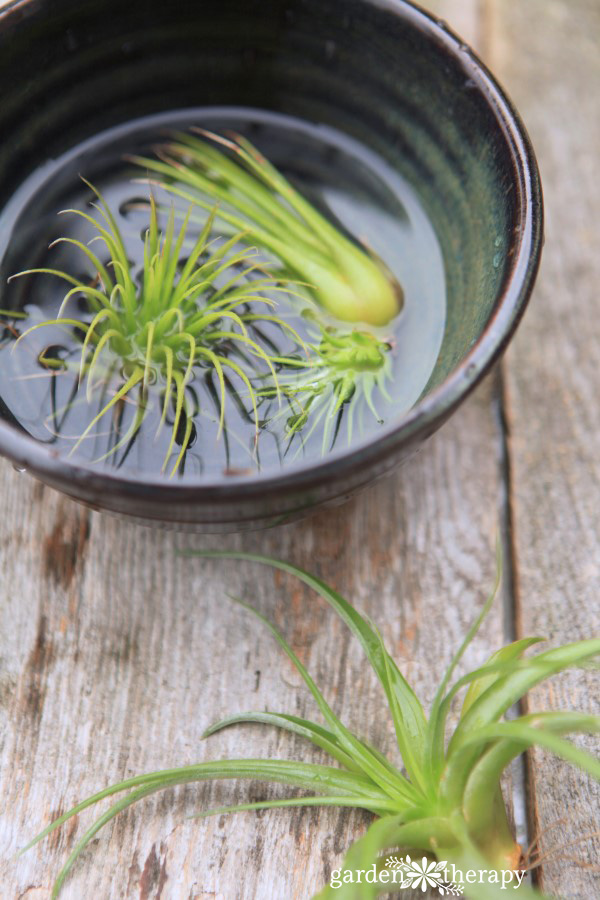
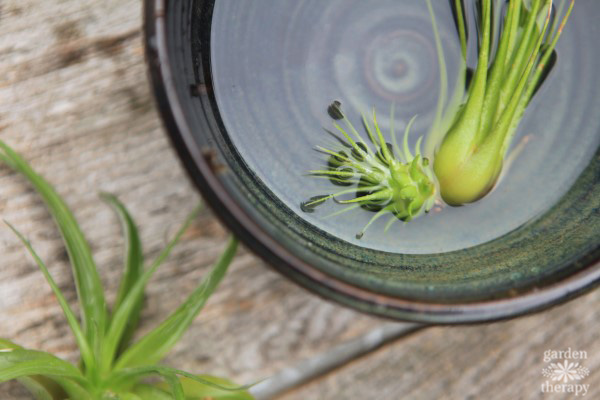
Air plants will be submerged in enough water to remove the plants from where they are displayed and soak them in a bowl or submerged with plenty of water.
Some of the plants float above the water. This is okay. Make sure that most of each air plant is submerged in water. Let them bathe for an hour.
Remove each plant, keep it upside down and upwards, shake well to remove any excess water at the base of the inner leaf. Next, on a towel, turn the air plants upside down and place them in a bright place.
Leave for 1-3 hours depending on the time of complete dryness. Make sure that the water is not pooled or the air plants can rot.
Return the air plants to their normal location.
Use the right water
Do not use chlorinated water on air plants. Instead, use rainwater or filtered water if possible. If using tap water, first sit in a bowl for 24 hours so that the chlorine evaporates. Chlorine can turn the tips of leaves into brown.
Change the watering schedule for each season
Depending on the season, air plants should bathe at different frequencies. In the summer, when it’s hot, they like to bathe once a week, but in the cold winter months, they do it once every three weeks. According to this, beware of seasonal changes and air plants and water health.
You also need to pay attention to the location of the air plant. For example, how much light does a plant receive? If you have a lot of sun, you may need to water it more frequently.
Is your plant next to a heater that can dry out faster, or do you live somewhere with less water? When thinking about your watering schedule, take the time to assess the surroundings of your air plants.
Should air plants be misted?
Many garden centers and plant stores are told to erupt water from a fog bottle in the mist several times a week. Personally, I don’t think this is very useful for plants. Splitz is inconsistent and does not provide enough moisture to air plants. Fog should not be the only way to use to water your air plants.
That being said, the humidity is already high in the greenhouse, so the greenhouse and the centre of the garden simply put them in fog. You can also escape with Splitz if you live in a humid climate (or greenhouse). For air plants adopted as houseplants for our rest, the key is to soak them in the bath.
If the air plant is stuck in a terrarium or glued somewhere and you can’t get rid of it, fog may be your only option. In this case, the mist becomes very often mist to ensure that you get as much water as possible without placing water on the base. But I highly discourage them from removing air plants and placing them anywhere they can’t take a bath!
Signs of unhappy air plants
If your air plant shows signs of distress, it may be due to watering. A crispy hint of brown may be a sign of sub-hydration. You will also notice that the concave shape of the air plant is more pronounced if there is a lack of water.
However, signs of excessive watering are difficult to reverse. If the air plant rapidly loses its leaves and the base turns black or brown, the air plant is rotten. Resist watering and cross your fingers! For more information, check out my guide on how to revive the sick air factory.
FAQs about watering air plants
Soaking air plants is a proper watering method, but the most important part of the process is actually drying them. You want to water them in the morning, so you have all day to dry them out.
After watering, sprinkle as much water as possible. Then tilt them upside down and place them in a bright, sunny place until they are completely dry. I repeat and completely dry. One commenter recommended that you place it on the screen so that the water could drip down.
If it dies, all the leaves will fall or turn brown and crisp.
Avoid purchasing glued air plants. Glue is safe for air plants and won’t kill them, but if you want to have healthy plants for many years, it certainly isn’t the best option. I bought some gorgeous displays with air plants glued together, but I can’t water them properly. It is best to display them so that you can remove them to remove them, such as this wire display or this live air plant wreath.
Other posts about air plants: